It is very important to saw the members of the fun bracing system and other braces for the guitar strictly along the layers of wood. The layers are clearly visible in two dimensions. However, the third dimension is not visible, but it can be determined by simple splitting. And this invisible grain direction is very important for brace reliability especially on the very low ends.
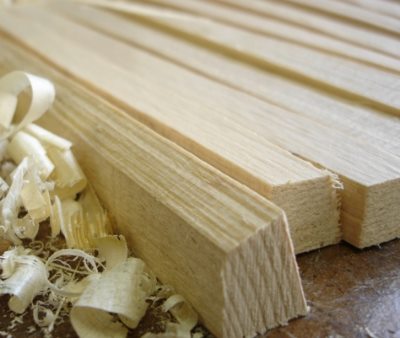
Wood Grains in the Blanks
In the blanks, you can clearly see how the grains go only in two planes. The third direction is not visible, but it is easy to detect it if you split the blank. This plane is the radial plane that passes through the center of the trunk. You don't need to understand how these planes go in the real tree, as we are working with a specific blank, and everything is clear on it. This is something like you don't need to know how the rosewood leaves are looked like to make guitars. The blank says for itself.
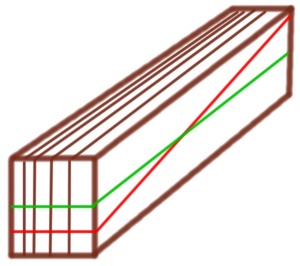
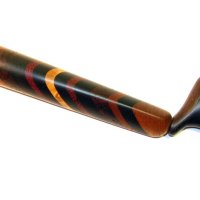
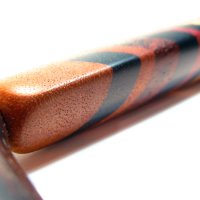
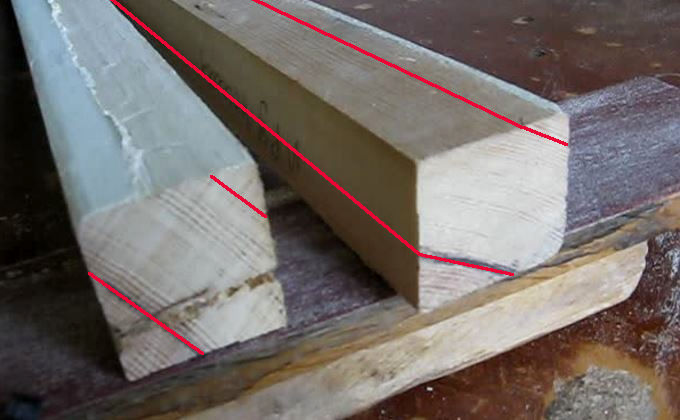
Grain Directions
You can see two directions of the wood grain by the blank appearance (braun lines). But you need to split to find third direction. Excellent green line and poor red one.
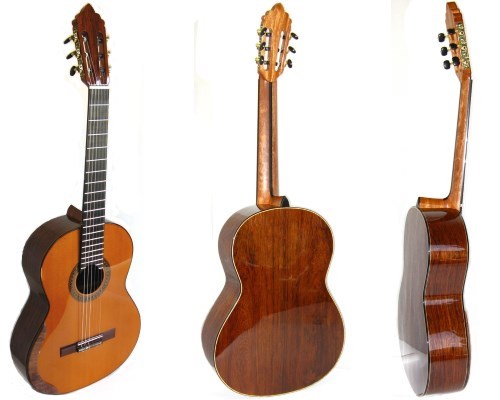
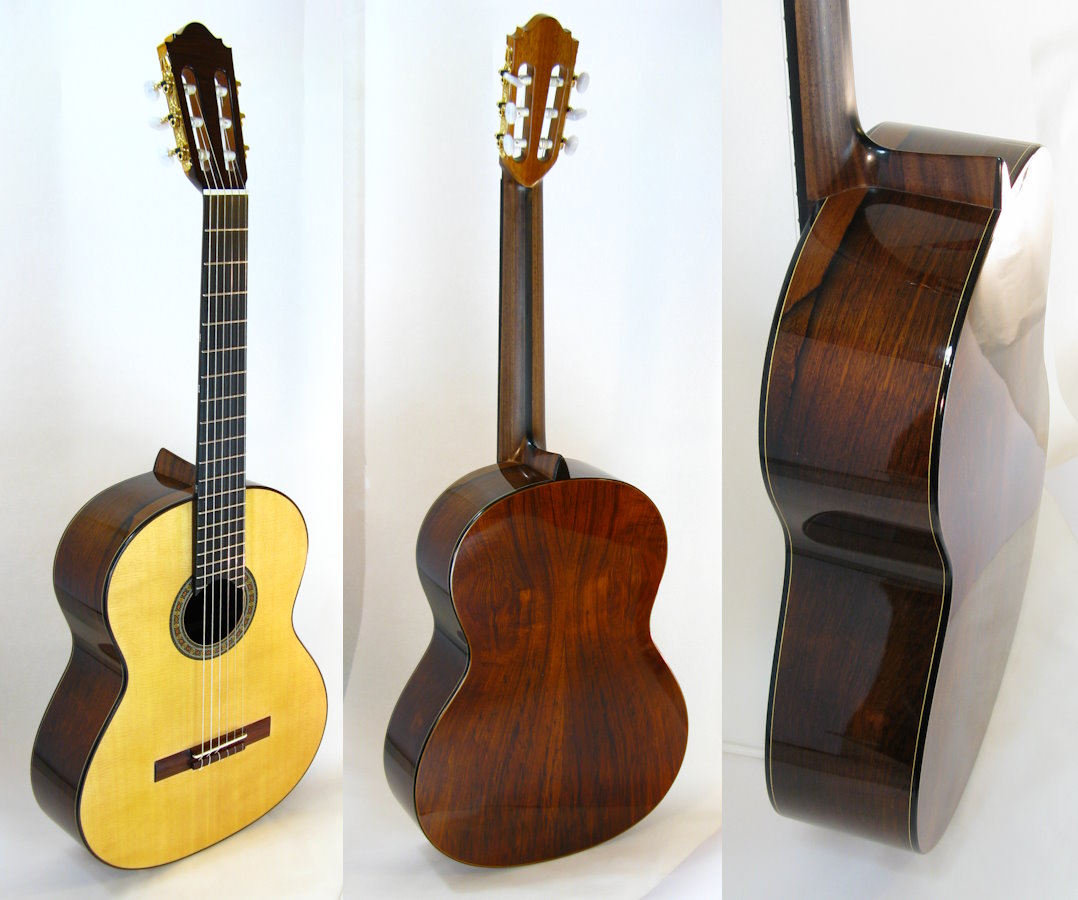
True guitar blanks
Cutting Blanks for the Braces
The braces of a guitar have very small cross-sectional dimensions and, to avoid splitting, they must be cut along the layers of wood. This is especially important for the fan system, where the dimensions are very small with transitions to nothing on the ends. I do not want to touch upon sound aspects. The first reason is enough to forget about the slanting in guitar brace members.
I will show how I do it myself. There are a lot of guidances that say you need to split every bracing member from the blank. I don't do it in that way. I believe that relying solely on splitting is too unpredictable. Wood grows as it wants, and slight angles in the blanks are acceptable. In other words, if your slanting in the brace is comparable to its length, it's acceptable.
Relying solely on splitting can lead to significant loss of valuable material without any meaning. So this is not high-end quality, it's wasting of a good wood. A slight insignificant wave of the wood grain can spoil all splitting idea. All you need is only one guiding split and after that only sawing along this direction. It may be necessary to slightly adjust the right direction from time to time.
An interesting nuance straight from a guitar maker's workshop. I did a test split and saw that it goes in a slight arc. And what does this mean for the workpiece? This means that it can be used to make an excellent crossbar for the arched back. Even better than straight layers. Just don't mix up the sides!
Cutting real blanks
I had a real wood on my workbench so I show you how I cut it in the perfect guitar braces.
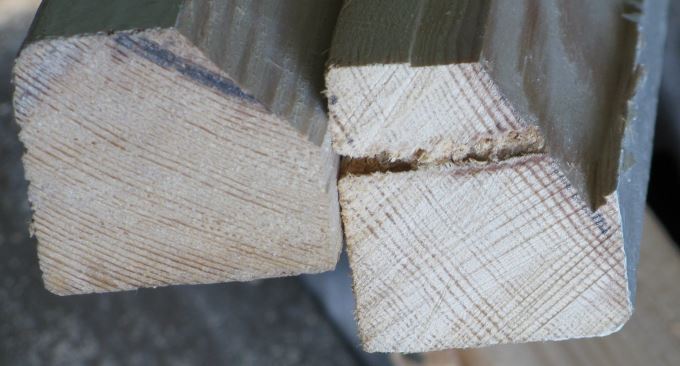
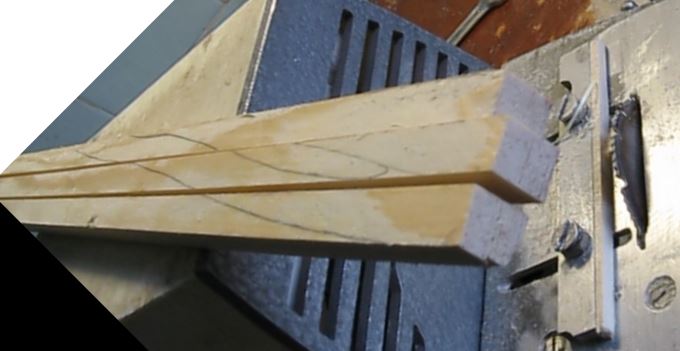
Let's start with the visible directions of the growth rings. One is visible on the end, and the other on the sides of the blank. You just need to saw along them or process with a plane to obtain a plane relative to which the next blanks will be cut. Cutting along the red lines in the photo below, I saw along the layers and simultaneously discard heartwood layers with a lot of resin. The sounboard doesn't need extra weight.
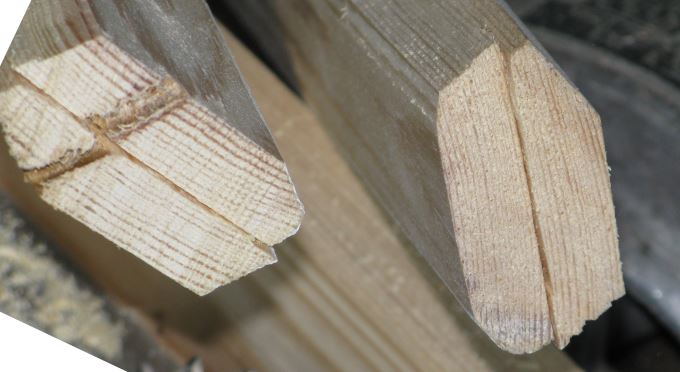
In the photo below, it's the first plain cuts. Slightly off to the left blank, but the rest can be easily picked with a plane. It's clear that you've done well when you see this a terribly dull texture on the cut side because you're not cutting through any layers or only a couple of them. When on the adjacent side, you have cheerful, parallel lines of layers.
Now, in relation to this dull texture side, you need to saw off as many blanks as possible. For me, two blanks come out here. Pay attention to the wide lateral side, there are unclear texture there. This is tangential sawn or plain sawn between layers.
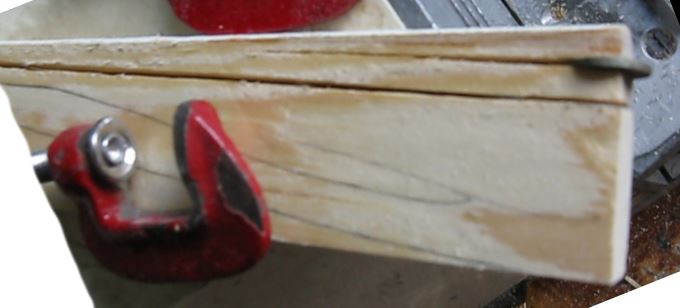
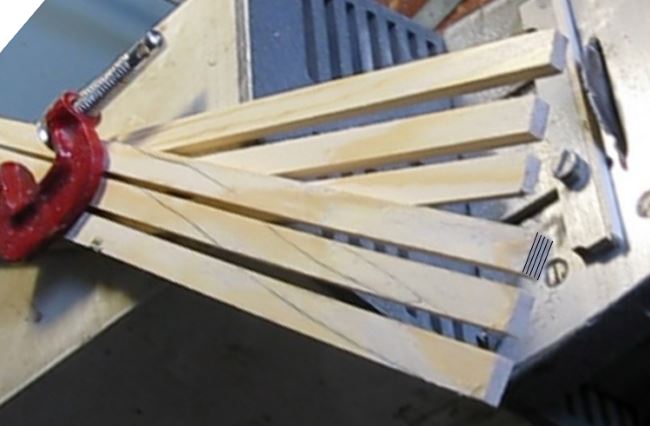
I've managed to get precisely plain-sawn blanks of 11-12 mm thickness, and now they need to be split perpendicular to the growth rings. On the dull side, there are no visible lines to guide the sawing. Don't bother searching for the right direction. It just needs to split. It takes a bit of experience not to spoil the blank while splitting. Start from the edge. In the photo below, I first split once where the coin is, and then a second time. Notice how the cracks run parallel.
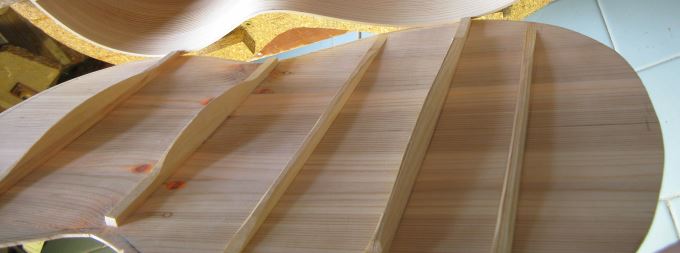
 I level this splitted side with a plane, and then, using it as a reference. I saw the ready crossbars for the back and top. If these crossbars are sawn several times, I can produce a fan braces. See the correct location of the layers in the drawing. The layers or growth rings should seem to stand and not lie.
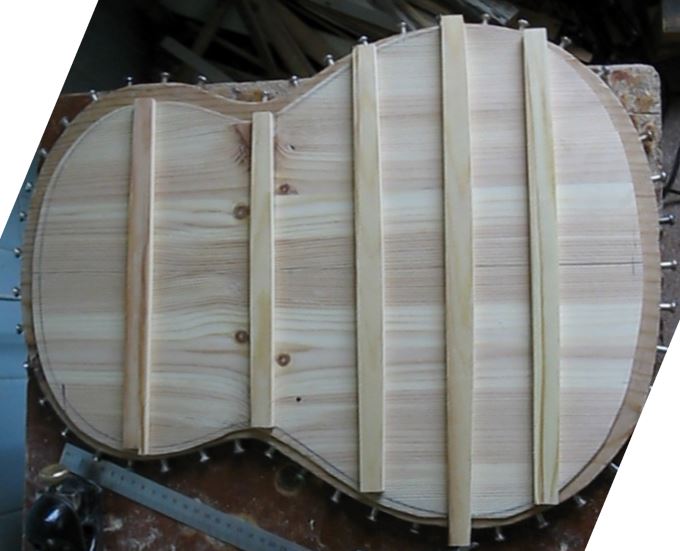
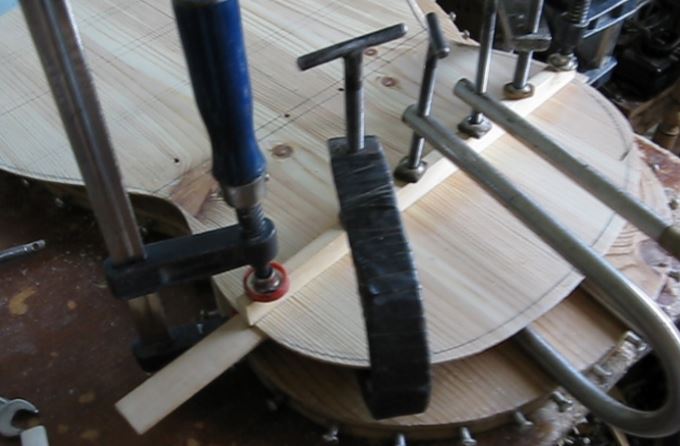
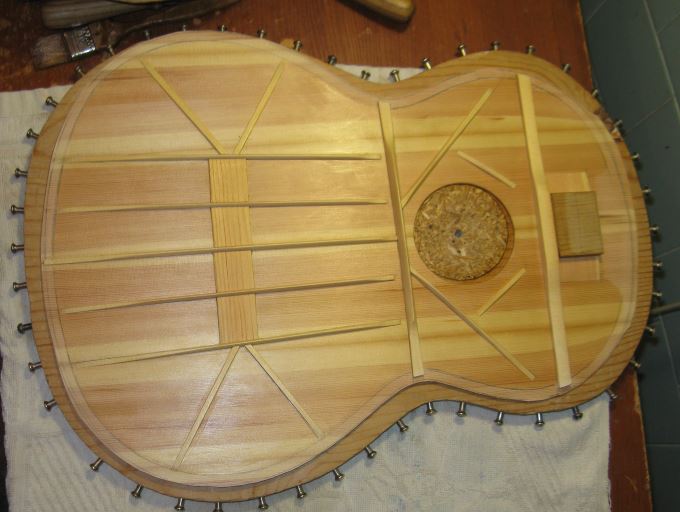
Glueing a fan bracing system an crossbars
Next, it is necessary to proceed with the installation of the acoustic system for the top and back of the guitar. Without further nuances.
I glue the fan braces in the "bookcase", you know that two boards with struts between them. I clamp the crossbars with a flexible plank from the outside of the back.
I prime everything from the inside with lacquer, which significantly increases the instrument's reliability during humidity changes. I just brush two layers of the shellac.
Video version of the article with English subtitles.