There are a pair of rules to properly tie guitar strings on a classical bridge with one hole for each string.
Today, everyone wants to get straight to the point, and details can be sorted out later. Fine, let's do that.
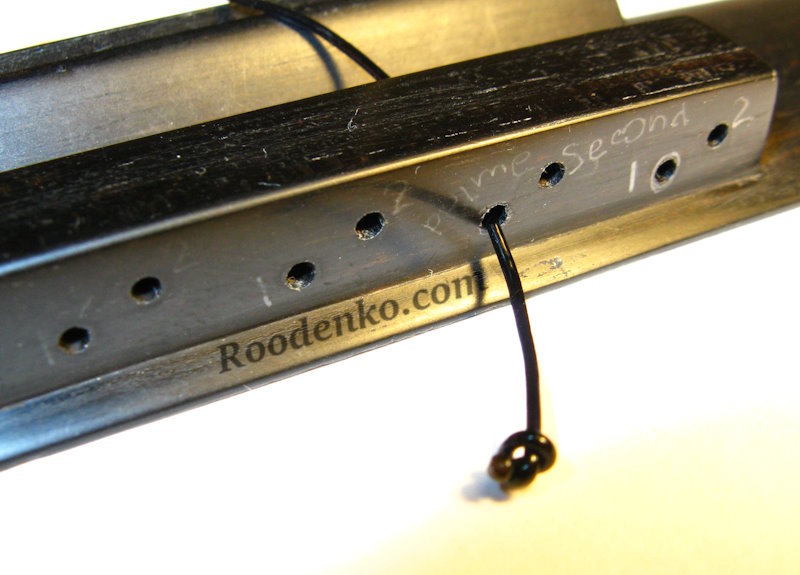
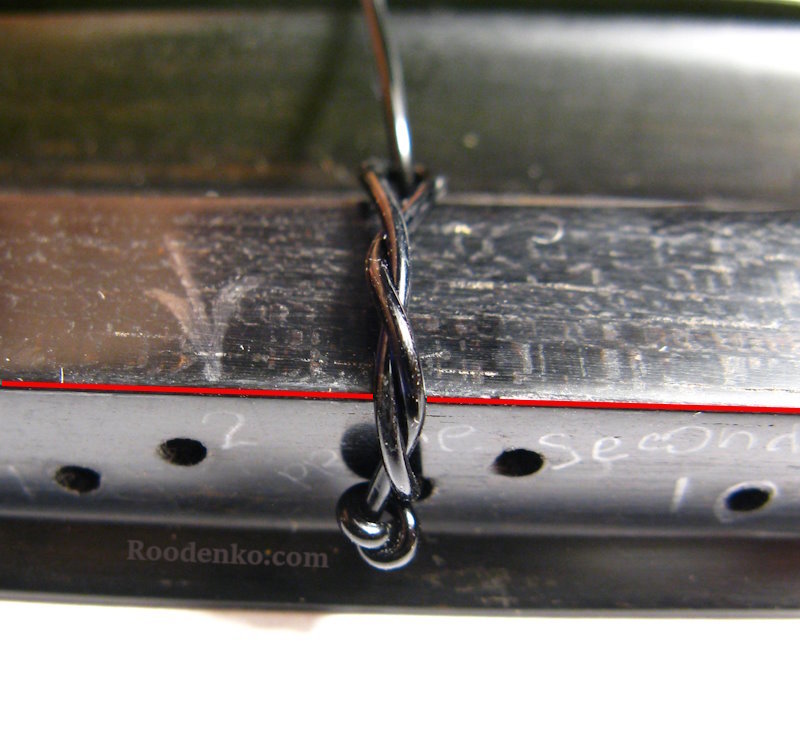
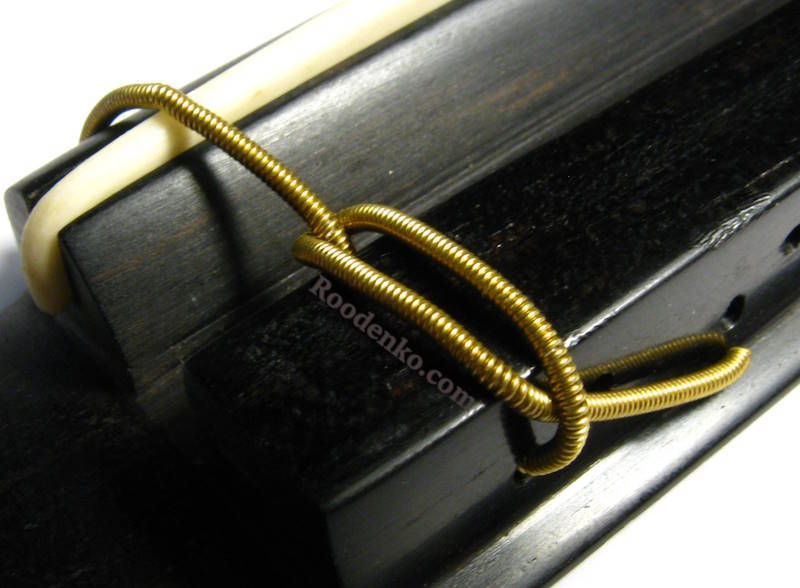
In the photo, there's a bridge with additional holes; don't let them distract you. Macro photography distorts the perception of sizes. In the photo, the second string is a bit stiff and made of nylon.
How to tie the first three strings on a classical guitar bridge.
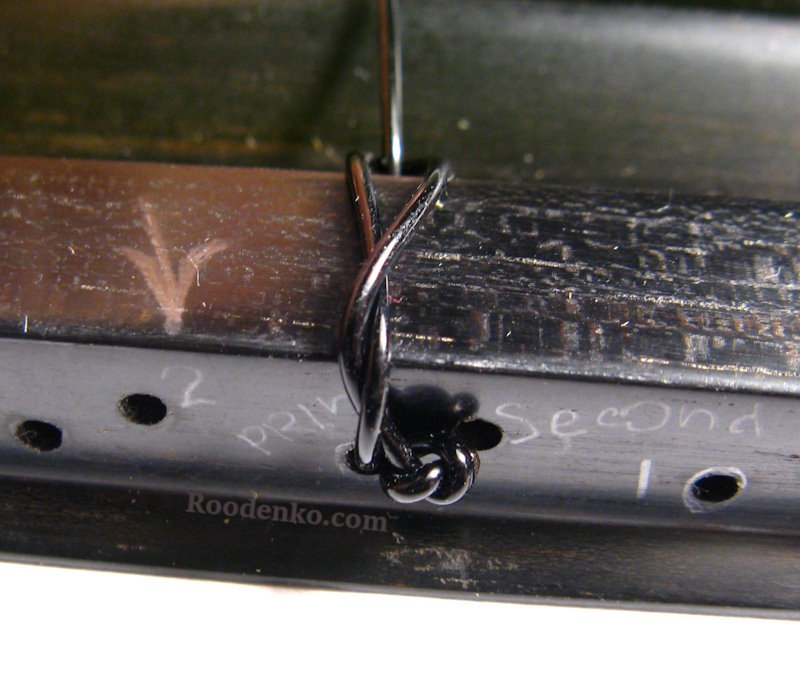
At the end of the first and second, and sometimes even the third string, I tie knots. This is especially important for thin and soft carbon strings. Thread the string through the hole.
Wrap the tail around the string. This can be done from different sides, just like threading the tail through the loop on the next step. Let's start with one option. Do it like this:
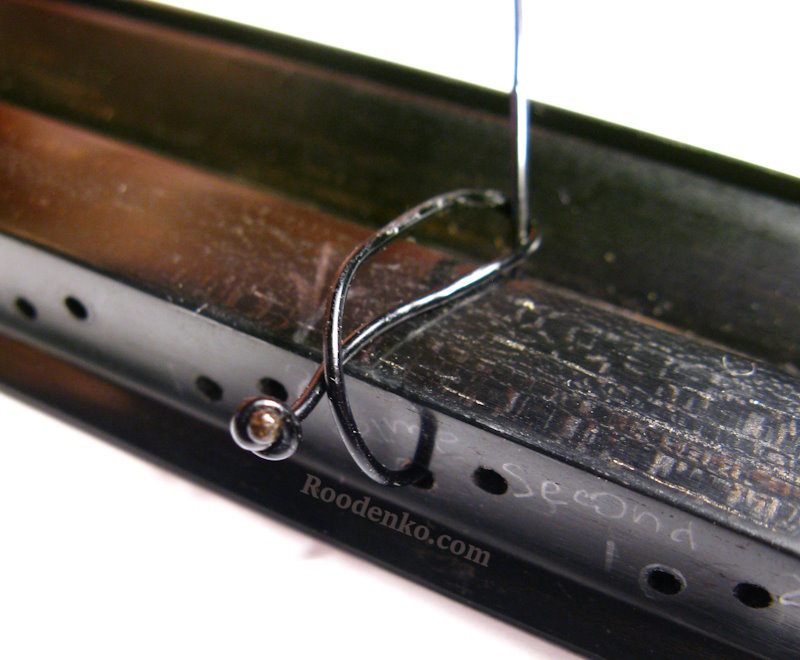
Thread it through once again in the same way, so that the end of the string with the knot goes beyond the edge. I marked this edge with a red line. Tighten. That's it.
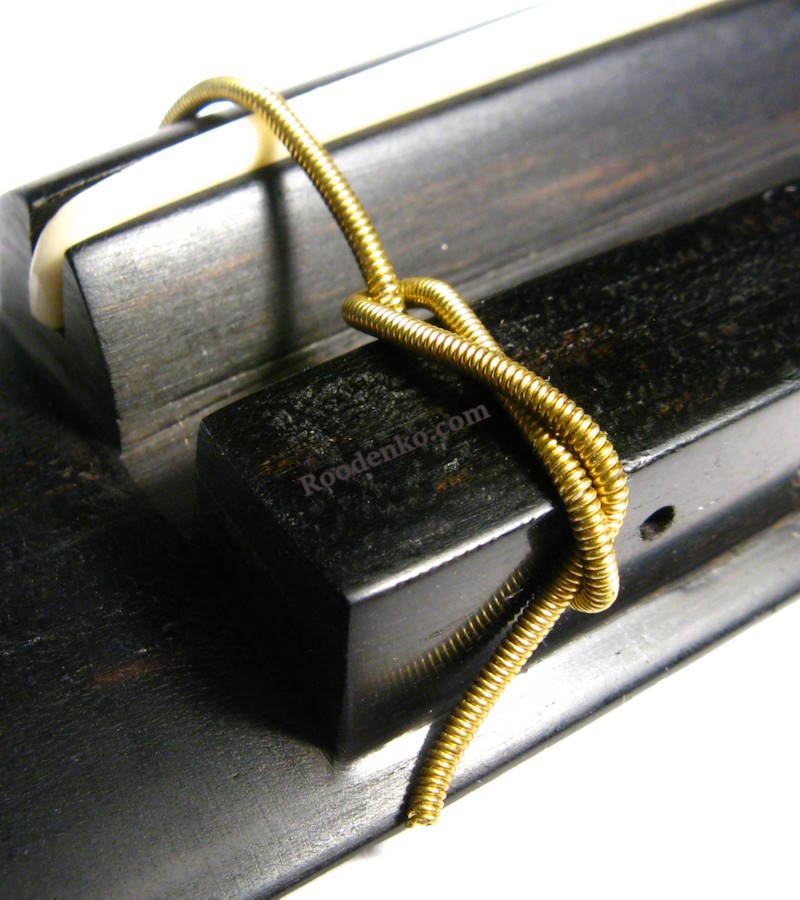
It is crucial to tuck the tail behind this corner and keep it there. Sometimes you move on to tying the strings to the tuning pegs, and the string on the bridge comes undone. This is especially common with new strings that tend to unravel.
The number of wraps depends on the size of the bridge, the thickness of the string, and your preferences. The main thing is to guide the string around the corner.
The first thin string allows for several wraps without complications. This way, the knot won't spontaneously come undone when tension is loosened, and the additional knot would be tucked behind the corner of the bridge naturally.
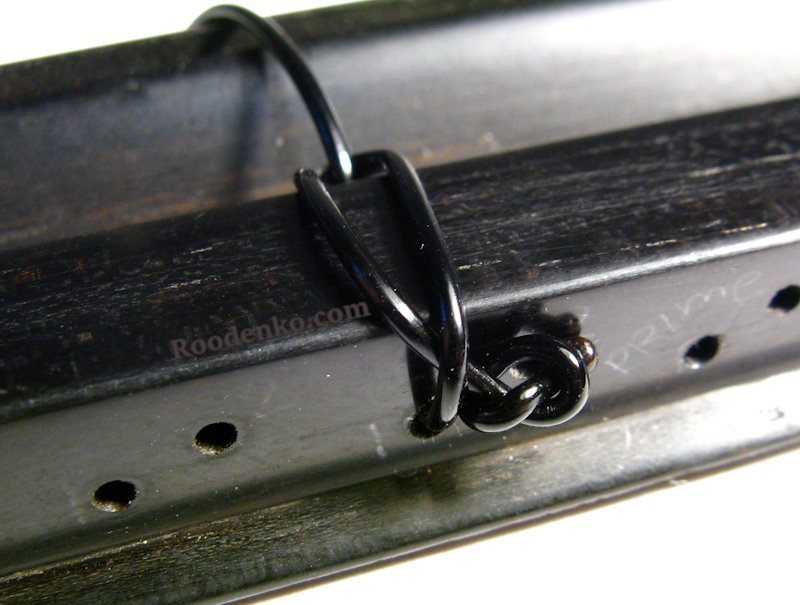
Here are several options where the string is threaded from the other side. The string wraps around once or even goes directly under the loop, behind the edge of the bridge.

I'll mention right away that fastening strings on the bridge using two holes for each string will be discussed in a separate article, as well as the attachment using beads. Click on the 'Strings' tag at the beginning of the article.
More details on how to tie the guitar strings on the bridge.
The first rule for a secure string placement is to guide the end of the string behind the edge of the string-holding part of the bridge.
What can go wrong? Incorrect fastening of strings on the bridge is something I observe constantly, regardless of the guitarist's skill level. The slipping of the string due to the edge can occur with a slight loosening. In other words, the guitarist ties everything correctly, but then, when focusing on tightening the strings on the tuning pegs, they slightly loosen the string, the knot unravels a bit, and that's enough for the tail to pop out.
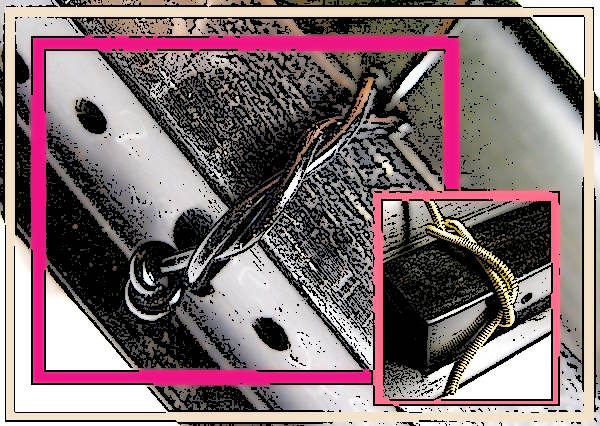
Let's look at the incorrect fastening in the photos, which are even posted on photo services.

In the photo from above, it is clearly visible that the 6th and 4th strings are tied incorrectly when the tails of all other strings are looped behind the bone edge. On the 5th and 6th strings, there is too much twisting; one loop there will definitely be enough. An interesting fact is that the tails of the incorrectly tied strings are threaded under the adjacent string. There is a technique for this, but I don't like it. Of course, in the photo from above, it is not a functional arrangement since the strings lack proper tension.
And now, a challenge! Which strings are tied incorrectly in the photo below?

In the photo, incorrect fastening is observed for the 6th, 4th, 3rd, and 2nd strings. Quite bad - only two out of six! And no knots.
The tricky part of the situation is that such an incomplete knot may hold for some time, especially for bass strings with a winding, possibly even for quite a while. However, I recommend not tempting fate because if it comes undone, it won't look nice and could be painful.
Another interesting fact from the last photo: the loop of the fourth string started stretching the winding. Somehow not very Feng Shui:) The winding of the fourth string is quite thin. To alleviate this effect, when tensioning the string, help the winding pass through the loop by pressing it with your nail. Fastening strings through two holes does not have this drawback. Look for an article tagged "Strings."
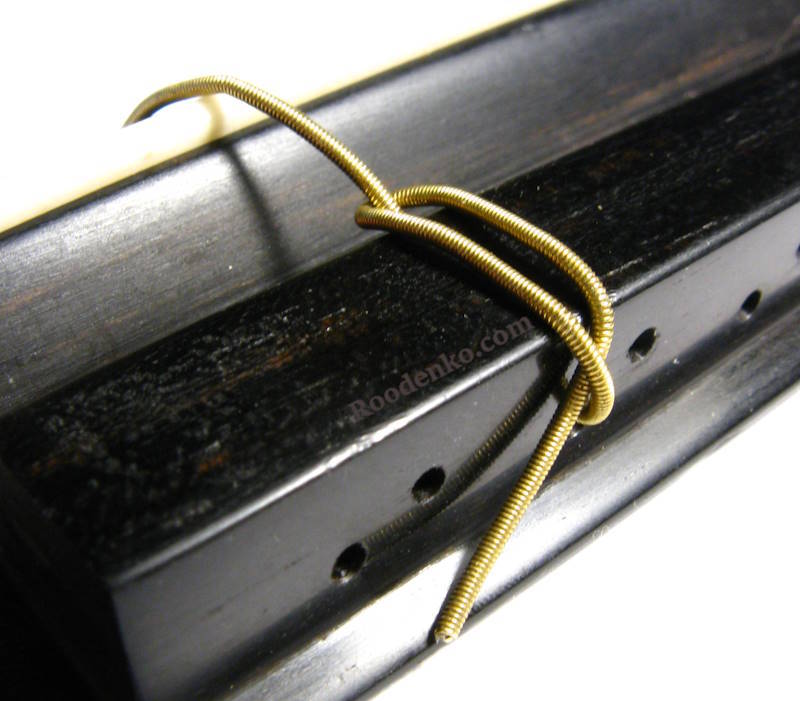
The string has no specific orientation, meaning it doesn't matter which end you install. However, some strings have sparse winding for ease of threading. Secure the string in a way that this sparseness does not end up on the lower guitar saddle. This sparseness is well visible on the fifth string in the photo above.
The second rule to follow when installing strings:
The first and second strings should have a knot that prevents them from slipping. The third string can also slip; you can use a lighter to burn the tip if the knot seems too large.
Oh, they've never slipped! What are you talking about?
They've never slipped because everything is fine until it happens for the first time. Unwinding with such force, the string hits the guitar's body with such impact that if your guitar has a lacquer finish rather than a lacquer shield, it will create a substantial groove or dent.
Thin and soft strings are prone to slipping, and these are professional carbon string sets.

Don't leave the string tails too long – they can scratch the guitar's body. At the same time, these tails are necessary if you're not tying additional knots. While the main knot is tightening, the string may slip, and the long tail pulls through. You can trim the tails later when the strings are fully tensioned. Certainly, don't cut them too short.